When I got a Macbook Pro, the first thing I thought was how to deploy a developing environment for programming and data analysis on Mac OS.
I decided to install Python3 althought macOS comes out with a native python environment Python 2.7.10. The best way I found on the Internet is from the page of David Culley where he gives several alternatives to set up a Python3 working environment. The post of Candy Tsai also helps a lot. The easiest method is might to use Anaconda a integral distribution for python which is popular for scientific computing. I like to install necessary packages for myself so I choose the Homebrew way. Homebrew is called the missing package manager for macOS and it is a hot word if you search on the Internet for softwares installation on macOS.
Table of Contents
Install Python via Homebrew
The following steps shows the full path to install Python3 via Homebrew.
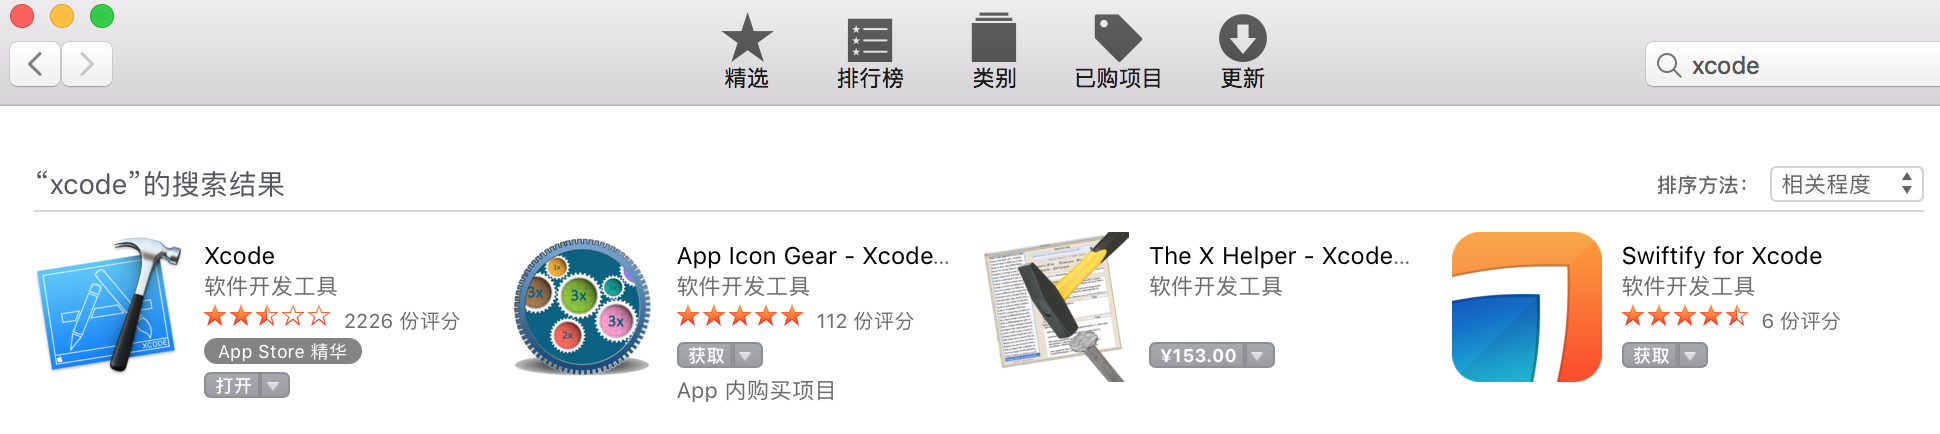
Install XCode
Before installing Homebrew you need first install XCode which is an integrated development environment for macOS containing a suite of software development tools by Apple for creating apps for iPhone, iPad, Mac and other Apple products. Open App Store and search xcode then the first result should be your choice.
After XCode installation, open the app and check License Agreement and then install XCode command line tool in the terminal.
xcode-select --install
The XCode installation is finished and move on the next step.
Install Homebrew

Homebrew is the missing package manager and simply follow the installation instruction from the Homebrew webpage. The script should be run on the macOS above 10.7 otherwise see documents here.
/usr/bin/ruby -e "$(curl -fsSL https://raw.githubusercontent.com/Homebrew/install/master/install)"
After the script completes run a check command:
brew doctor
You should see a message exactly like this:
Your system is ready to brew.
Until now you could install python3 on your mac by Homebrew.
Install Python3
In your terminal, execute the following command.
brew install python3
Waiting a few seconds python3 will be in the directory /usr/local/Cellar/. Need not bother to care what it is. Directly use python3 in the terminal to run your python code. Homebrew will automatically create a soft link to python3 in /usr/local/bin and append that directory to the beginning of $PATH. So now you have python3 installed. Since Homebrew always installs the newest version of Python in my case it is Python 3.7.0 before I write this post.
Check installation
python stands for the original python distribution of macOS system. python3 is what you have just installed and what you should use in the developing.
which python3
It shows /usr/local/bin/python3 whereas
which python
shows /usr/bin/python.
Virtualenv
One more thing. To properly develop with python3 on Macbook Virtualenv is a good assistant for you. Virtualenv helps you keep every project with its own specific python package environment seperately. Virtualenv itself is installed within python3 environment and later on you should install packages for every project indepentently.
Change pip mirror
First it’s better to change the pip source mirror since the official pip source website may have a bandwidth limitation and it will always fail to download packages even though --timeout parameter is set.
For temporary use install packages by append a parameter to pip3:
pip3 install -i https://pypi.tuna.tsinghua.edu.cn/simple some-package
I suggest to make the setting as default by creating a configuration file.
cd ~ && mkdir .pip&&cd .pip
vi pip.conf
Press i on keyboard to turn on vi edit mode and type the two lines in the file.
[global]
index-url = https://pypi.tuna.tsinghua.edu.cn/simple
Then press esc to switch from edit mode to command mode and just input :wq and Enter to save and quit the file.
Install Virtualenv
You should always prefer installing softwares by pip to homebrew when available in both. Install virtualenv as a package in Python3. Do as follows.
pip3 install --upgrade pip setuptools wheel
pip3 install virtualenv virtualenvwrapper
Here you see virtualenv and virtualenvwrapper. The later one is not mandatory but is worth a try. After installation the important part is configuration.
Configurate Virtualenv
mkdir ~/Projects
To create a directory for projects in your home directory. You can put it anywhere in your system.
vi ~/.profile
Append
# needed for virtualenvwrapper
export WORKON_HOME=$HOME/.virtualenvs
export PROJECT_HOME=$HOME/Projects
export VIRTUALENVWRAPPER_PYTHON=/usr/local/bin/python3
export VIRTUALENVWRAPPER_VIRTUALENV=/usr/local/bin/virtualenv
export PIP_REQUIRE_VIRTUALENV=true
source /usr/local/bin/virtualenvwrapper.sh

# create commands to override pip restriction.
# use `gpip` or `gpip3` to force installation of
# a package in the global python environment
gpip(){
   PIP_REQUIRE_VIRTUALENV="" pip "$@"
}
gpip3(){
   PIP_REQUIRE_VIRTUALENV="" pip3 "$@"
}
Virtualenv usage
Now you can use virtualenv. To create a new virtualenv like for deep learning say dl-env, run script in terminal:
mkvirtualenv dl-env
To delete a virtualenv:
rmvirtualenv dl-env
A more handy way:
mkproject dl-env
This will create a new virtualenv in $HOME/.virtualenvs and a new directory in Projects and you can switch between virtualenvs by command workon. For example, there are two virtualenvs or projects dl-env and game-env. To activate dl-env simply run workon dl-env. To switch to game-env simply run workon game-env. This will deactivate dl-env and activate game-env meanwhile it changes current working directory from ~/Projects/dl-env to ~/Projects/game-env.
More commands
A list of commands that are helpful for virtualenv usage:
lsvirtualenv # list all virtualenv
cdvirtualenv [subdir] # cd into activated virtualenv directory
showvirtualenv [env] # show details of virtualenv env
cpvirtualenv [source] [dest] # copy virtualenv
workon # no parametor to show all virtualenv
cdproject # cd into projects directory of activated virtualenv
Install Python as framework
In case you would not want Python 3.7.0 just like I did, a direct way to install Python3 is via the official distribution. Choose the version from Python website where I chose Python 3.6.6 for macOS which is the newest version of Python 3.6 supporting tensorflow so far. Installation is much easier. Open the installation package and follow the wizard. Unlike brew way Python3 will be put in /Library/Frameworks/Python.framework with a soft link is already created in /usr/local/bin/python3 so which python3 returns /usr/local/bin/python3. In this way virtualenv installation is the same as above.
Visual Studio Code
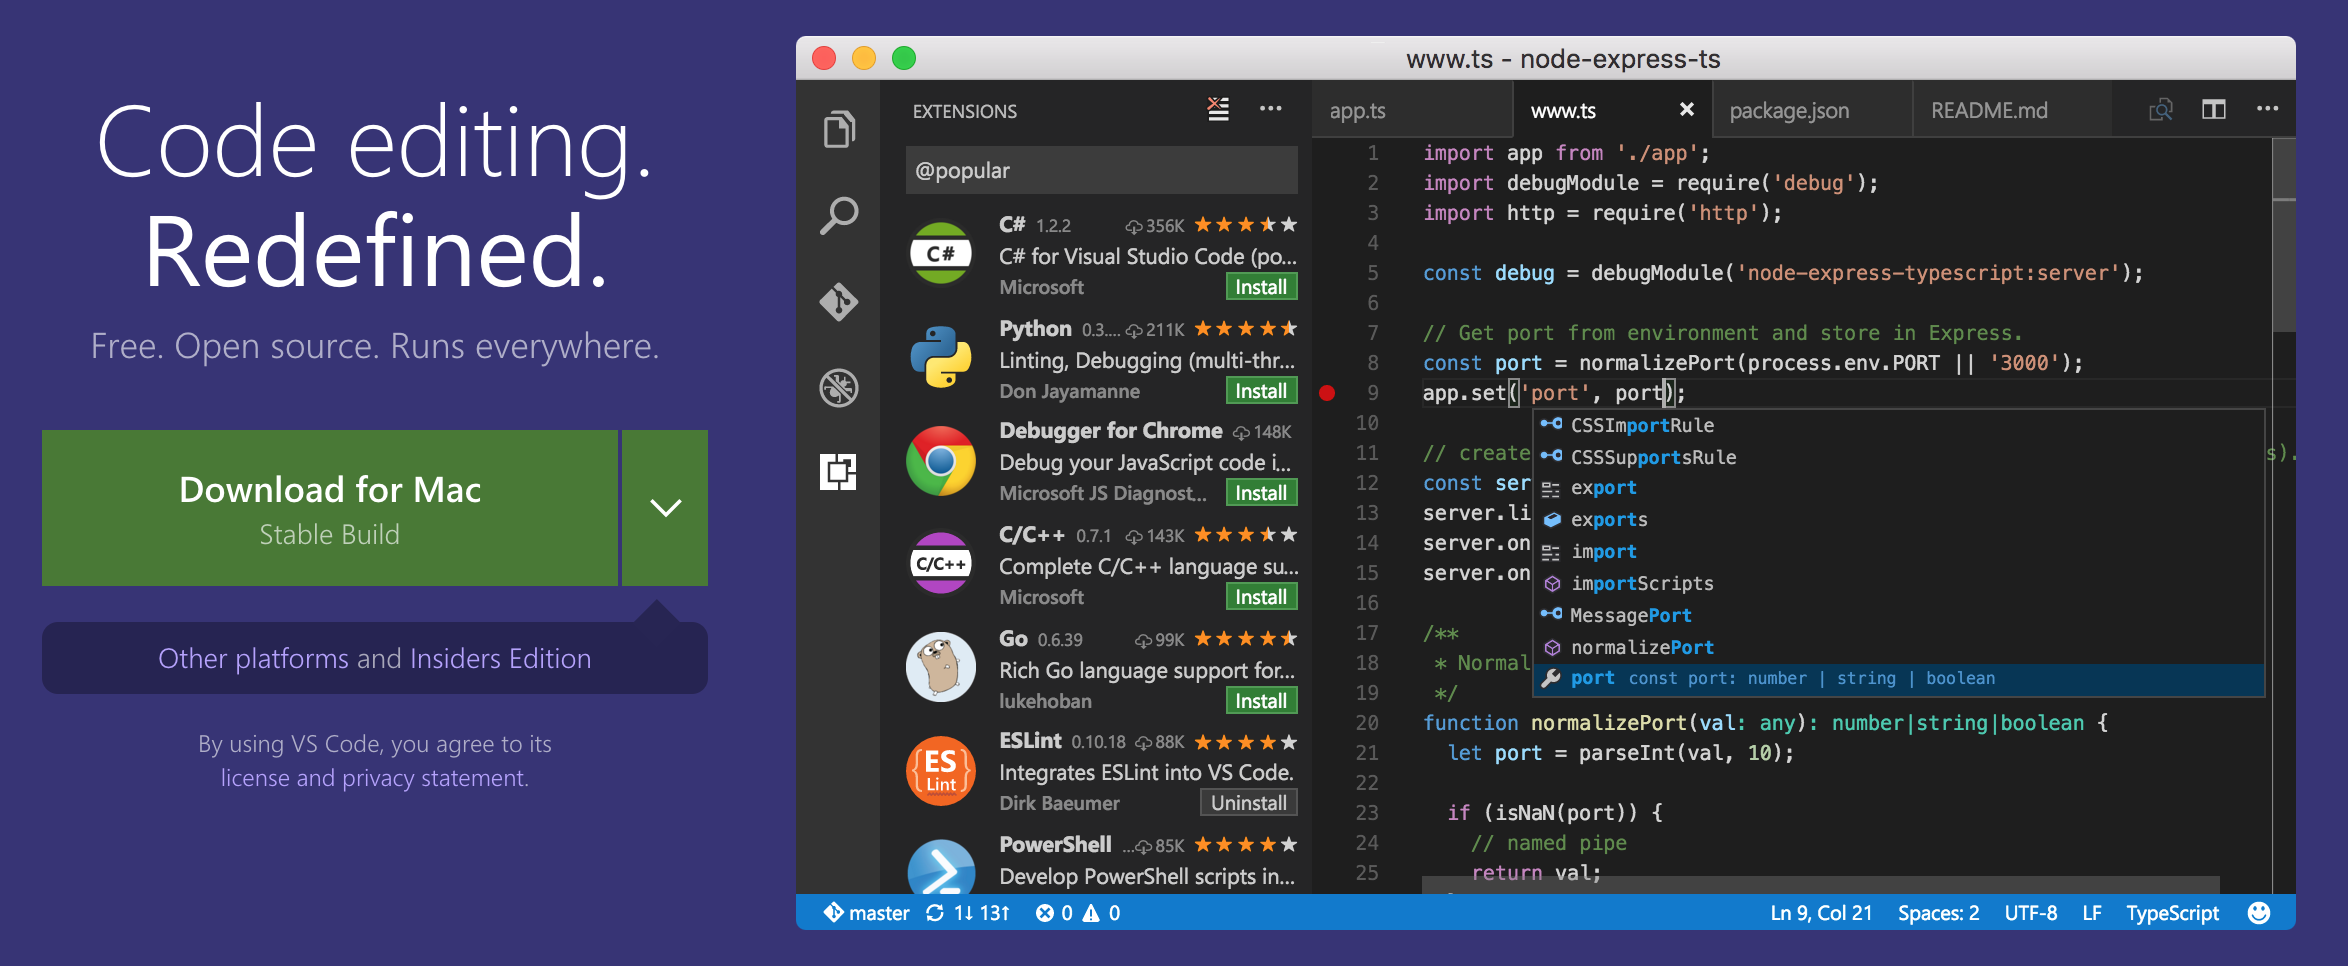
There are always battles of which editor is the best on the Internet. Now these battles should be ended by Visual Studio Code the top No.1 editor in the world. I tried so many text editors before I got to know vscode. Either they are not flexible or cannot supports such many kinds of languages and file formats.
When do python programming with vscode a Python plugin is needed which supports linting, debugging, intellisense, code formatting and so on. Default Python path setting should be updated from system python to python3 we just installed. In the interface of VSCode, click Code->Preferences->Settings and User Settings page will show up. Search for python settings. Default user settings looks like this:
# Path to Python, you can use a custom version of Python by modifying this setting to include the full path.
"python.pythonPath": "python"
Add one line in User settings in the right column:
"python.pythonPath": "/Users/[your username]/.virtualenvs/dl-env/bin/python",
[your username] should be replaced by your system username and dl-env is the virutal environment created above and should by replaced by yours. With this setting vscode will parse python code using the python interpreter in the virtual environment. And now you may install some python packages in your virtual environment like pylint, numpy, scipy, matplotlib and jupyter.
workon dl-env
pip3 install pylint numpy scipy matplotlib jupyter
Conclusion
This post introduced python3 installation methods via Homebrew or directly installing from official distribution and the most convenient python working environment deploy tool Virtualenv combined with Virtualenvwrapper. VSCode is strongly recommended and the python environment setting is also straightforward.